
Unleash Your Creativity: How to Take Stunning Food Photos with Your iPhone.
Simply taking a photo of food from your iPhone can be a bit challenging, but with the right tips and tricks, you can elevate your food photography game. In this post, we’ll share some of our top iphone food photography tips to help you take better photos of your favorite dishes. We’ll also provide some insights on how to make the most of your iPhone’s camera features for food photography.
Mastering Exposure: Illuminate Your Food Photography with Perfectly Balanced Phone Camera Settings
One of the most crucial aspects of food photography is lighting. Natural light is always the best option as it showcases the original colors and textures of food. Try to take food photos near a window or in a well-lit area. But what happens when the exposure isn’t quite right? You can use a soft diffuser to soften the light or even adjust the exposure settings on your iPhone.

How to change your exposure in phone camera?
Utilize the camera grid feature:
Enable the grid feature on your phone’s camera settings. This will help you align and balance your compositions using the rule of thirds, leading lines, and other compositional techniques.
Or consider using Lightroom mobile grid overlays. One useful tip for using Lightroom Mobile’s grid overlays to achieve different compositions in your food photography is to experiment with different grid options to enhance your composition. Lightroom Mobile offers various grid overlays, such as the Rule of Thirds, Golden Ratio, and Diagonal Lines.
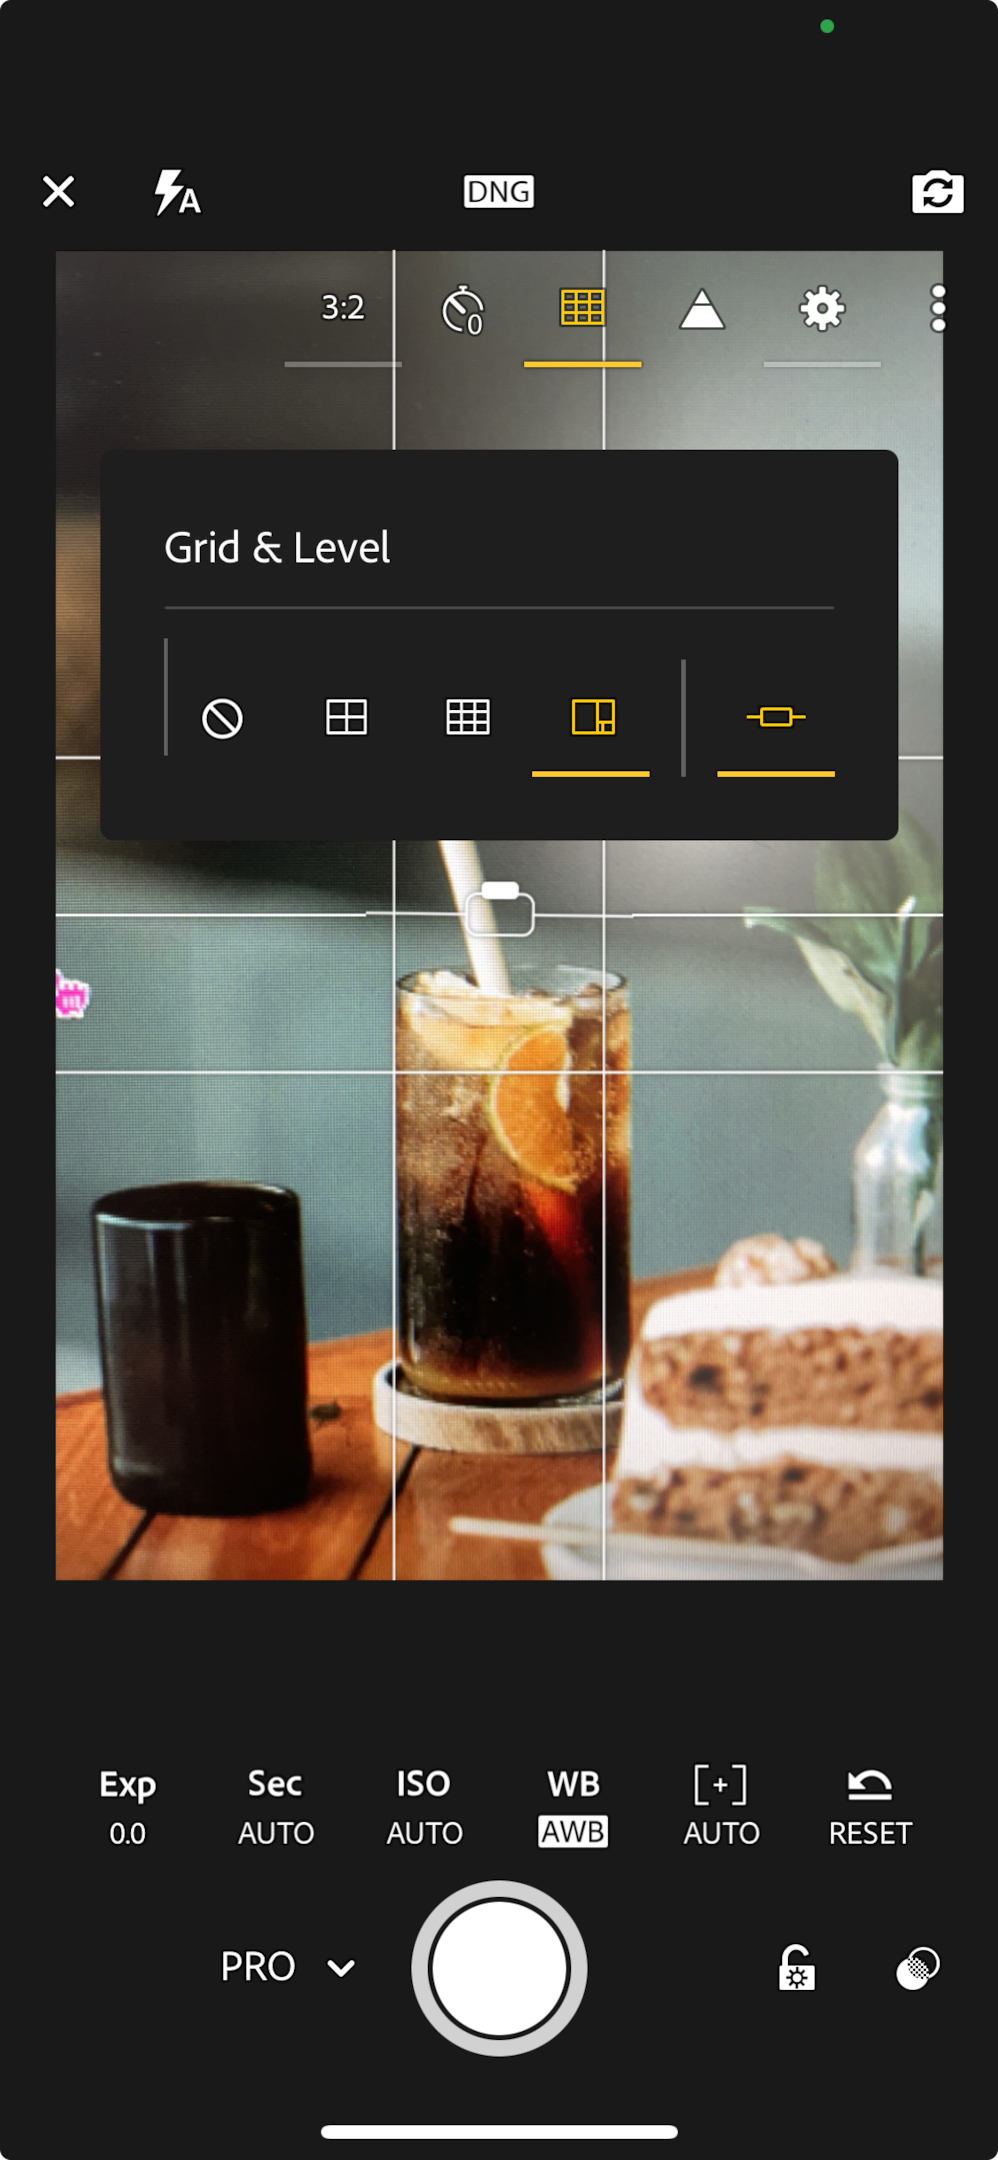
By enabling these grid overlays, you can strategically position key elements of your food within the intersecting lines or along the diagonal lines, creating a visually pleasing and well-balanced composition. Here’s how to make the most of it:

1. Rule of Thirds: Enable the Rule of Thirds grid overlay to divide your frame into nine equal sections with two horizontal and two vertical lines. Position the main subject or key elements of your food along these lines or at the intersection points. This grid helps create a balanced and harmonious composition and a great place to start for beginners.

2. Golden Ratio: Activate the Golden Ratio grid overlay to overlay the frame with a series of spiral-like lines. Aligning your food or key elements with these curved lines can add a sense of flow and visual interest to your composition. It’s especially useful for creating dynamic and engaging images.

3. Diagonal Lines: Experiment with the Diagonal Lines grid overlay to guide the viewer’s attention along diagonal lines in your composition. This can create a sense of movement and lead the viewer’s gaze to specific areas of your food. Use these lines to position elements in a way that adds energy and direction to your food photos.
By utilizing Lightroom Mobile’s grid overlays, you can easily align your food and compose your shots with precision, resulting in visually captivating images. Take the time to experiment with different grid options and find the one that best complements your food and desired aesthetic.
Clean your lens: Keep your phone’s camera lens clean and free from smudges or fingerprints. Use a microfiber cloth or lens cleaning wipe to gently wipe the lens before taking photos.
Experiment with Close-Ups (Never use zoom)
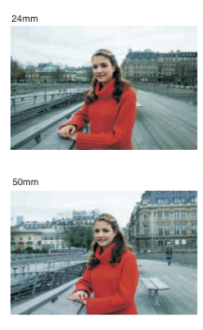
Instead of using the digital zoom feature, try physically moving closer to your subject for a better composition. Digital zoom can result in loss of image quality and detail, unless you’re looking for lens compression ideal for travel photos. As you can is it brings the background forward.
Experiment with angles and perspectives:
Get creative with your angles and perspectives. Try shooting from above (flat lay), at a 45-degree angle, or even straight on (turn your phone upside down). Different angles can provide unique and interesting viewpoints for your food pictures.
Try different focus points


Some phone cameras offer a “Portrait” or “Depth” mode, which simulates a shallow depth of field, blurring the background and bringing focus to the subject. Experiment with this feature to create a pleasing bokeh effect, or blur your foreground to create depth

Use the burst mode: When photographing food with dynamic elements such as steam or pouring sauces, use the burst mode on your phone’s camera. It allows you to capture a series of shots in quick succession, increasing the chances of capturing the perfect moment. If you find it challenging to keep your phone steady while taking photos, use the self-timer or a remote shutter app. This allows you to trigger the shutter without touching the phone, resulting in sharper images.
How to take photos of food in the dark (low light situations)
Low light can make food photography tricky – but no worries! We’ll tackle that beast head-on with these 5 tips.
- Increase your ISO
When taking pictures in dim lighting, you will need to use higher ISO settings to produce brighter pictures without artificial lighting. This will also increase your camera’s sensitivity to light which is essential for low light photography.
- Reduce shutter speed
To compensate for the extra ISO, reduce your shutter speed as it can add noise and blurriness to photos taken in low light.
- Use a tripod
It’s important to use a tripod when taking photos in low light as hand-held cameras can shake and lead to blurred images. Using a decent tripod or gimbal can reduce camera shake.
- Set the white balance
To get your colors right, set the white balance according to the environment you’re shooting in – for instance, warm environments require higher white balance settings.
- Utilize natural lighting sources
If you have access to natural light, like a window or an open door, capitalize on it! Taking photos with natural light can really captivate the essence of your food.
Don’t be afraid to experiment and explore what works best for you in low light situations. With these tips, let’s set off on our culinary safari and capture some tantalizingly delightful shots! Bon Appetit!
The 3 best food photography apps:
The best photography apps just might be the icing on your food photography cake. Enhancing and editing your photos after you’ve taken them can be the difference between an “eh” and a “wow”, so here are 3 of our favorite apps that will help you get the most out of your culinary masterpieces.
Lightroom Mobile App – Best camera app
This app is the perfect tool for taking delicious food photos and tweaking your photos. It has features to adjust the camera settings and then fully edit the color tones, brightness, and contrast – all of which will help bring the best out of your food photography shots.
ProCamera – Best iphone camera app
Experience advanced manual controls tailored for photography enthusiasts. Capture high-quality images and enjoy RAW support for unrivaled precision. Unleash the power of features like low-light mode and HDR to elevate your results to new heights.
LumaFusion (iOS) – Best video app
Experience the power of a cutting-edge video editing app designed exclusively for iOS devices. With its multi-track timeline and advanced editing capabilities, unleash your creativity like never before. Seamlessly work with multiple video and audio formats, including stunning 4K resolution. Elevate your video editing game with this feature-rich app. This app is the perfect place to refine and perfect your photos. You can use it to adjust the exposure, contrast and shadows as well as add light leaks, textures, and frames. It’s also great for adding creative overlays that give your food photography shots an extra flair.
With all these tools at your disposal, we have no doubt you’ll be creating stunning food photo in no time. So go ahead and let your creativity run wild!
Happy shooting, foodies!


