
What is Focus Stacking in Photography? (And Why It’ll Save Your Next Shoot)
Ever taken a close-up photo of a beautiful cupcake or handmade ring, only to find that half of it is weirdly blurry? You nailed the lighting, the styling is on point, but somehow your gorgeous creation looks like it’s melting into the background.
Enter: Focus stacking.
A technique that sounds fancy but is actually a lifesaver—especially for macro, product, and food photography. If you want those tack-sharp images from front to back, keep reading. You’re about to level up.

So, What is Focus Stacking, Exactly?
Let’s break it down. Focus stacking is a clever little trick where you take several photos of the same scene, each one focused on a slightly different part of the subject. Then, you merge those images together so that everything is in sharp focus.
It’s like telling your camera, “Hey, you don’t have to choose just one bit to focus on—why not focus on all the important bits?” Because honestly, we deserve it.
Why use focus stacking?
It’s especially useful when:
- You’re shooting up close (hello, shallow depth of field).
- You want detail in every crumb of a scone.
- You’re showcasing handmade crafts and every texture counts.
The Pros & Cons of Focus Stacking
✅ Pros:
- Crisp detail across the whole subject.
- Makes your images look ultra-professional.
- You gain creative control over what’s in focus.
❌ Cons:
- It’s not exactly a quick fix. Shooting + editing takes time.
- Moving elements = Motion blur disaster.
- You’ll end up with 35 versions of one strawberry tart on your SD card.
When Should You Use Focus Stacking?
Here’s when this technique really shines. Check out the focus stacking examples below.
🐝 Macro Photography
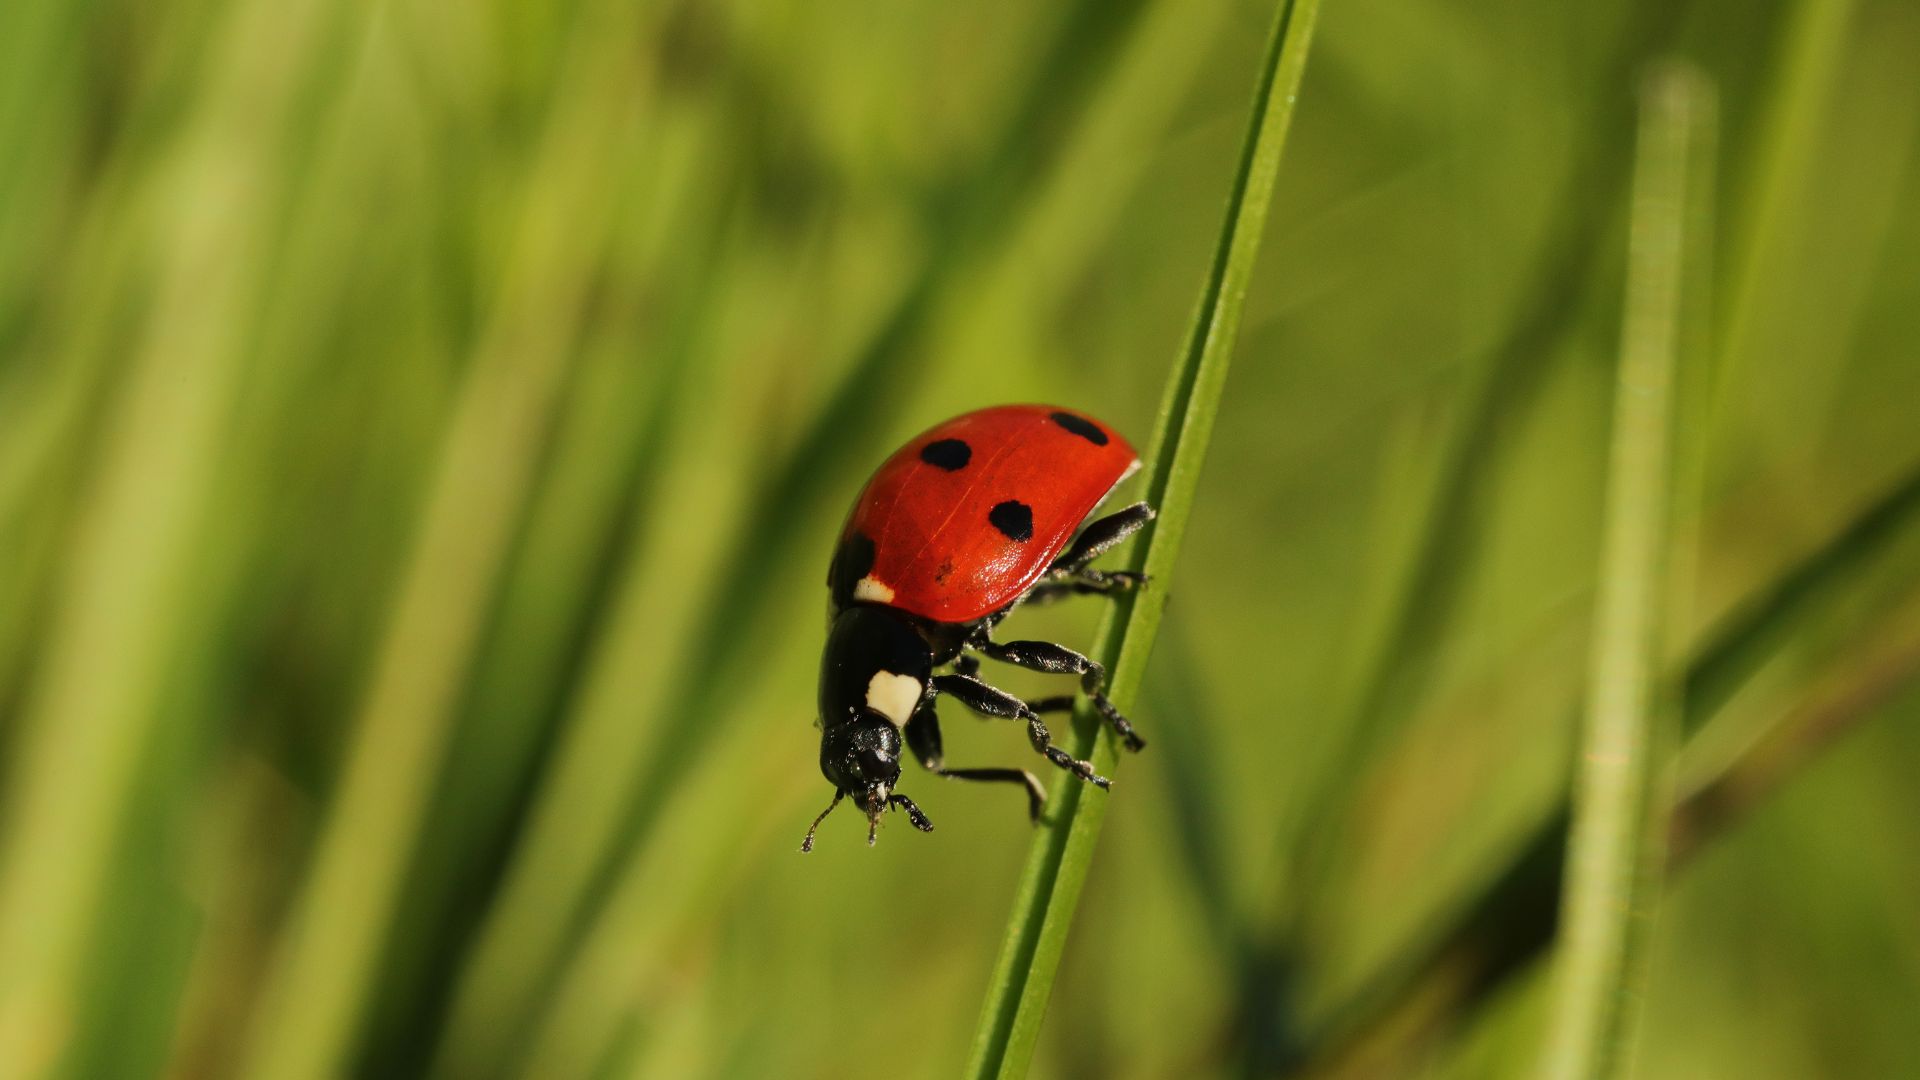
Depth of field at close range is laughably small. Like, “only the ladybug’s eyelash is in focus” small. Focus stacking lets you capture all that fine detail—legs, wings, and whatever magical pollen dust they’re covered in.
🥐 Food Photography
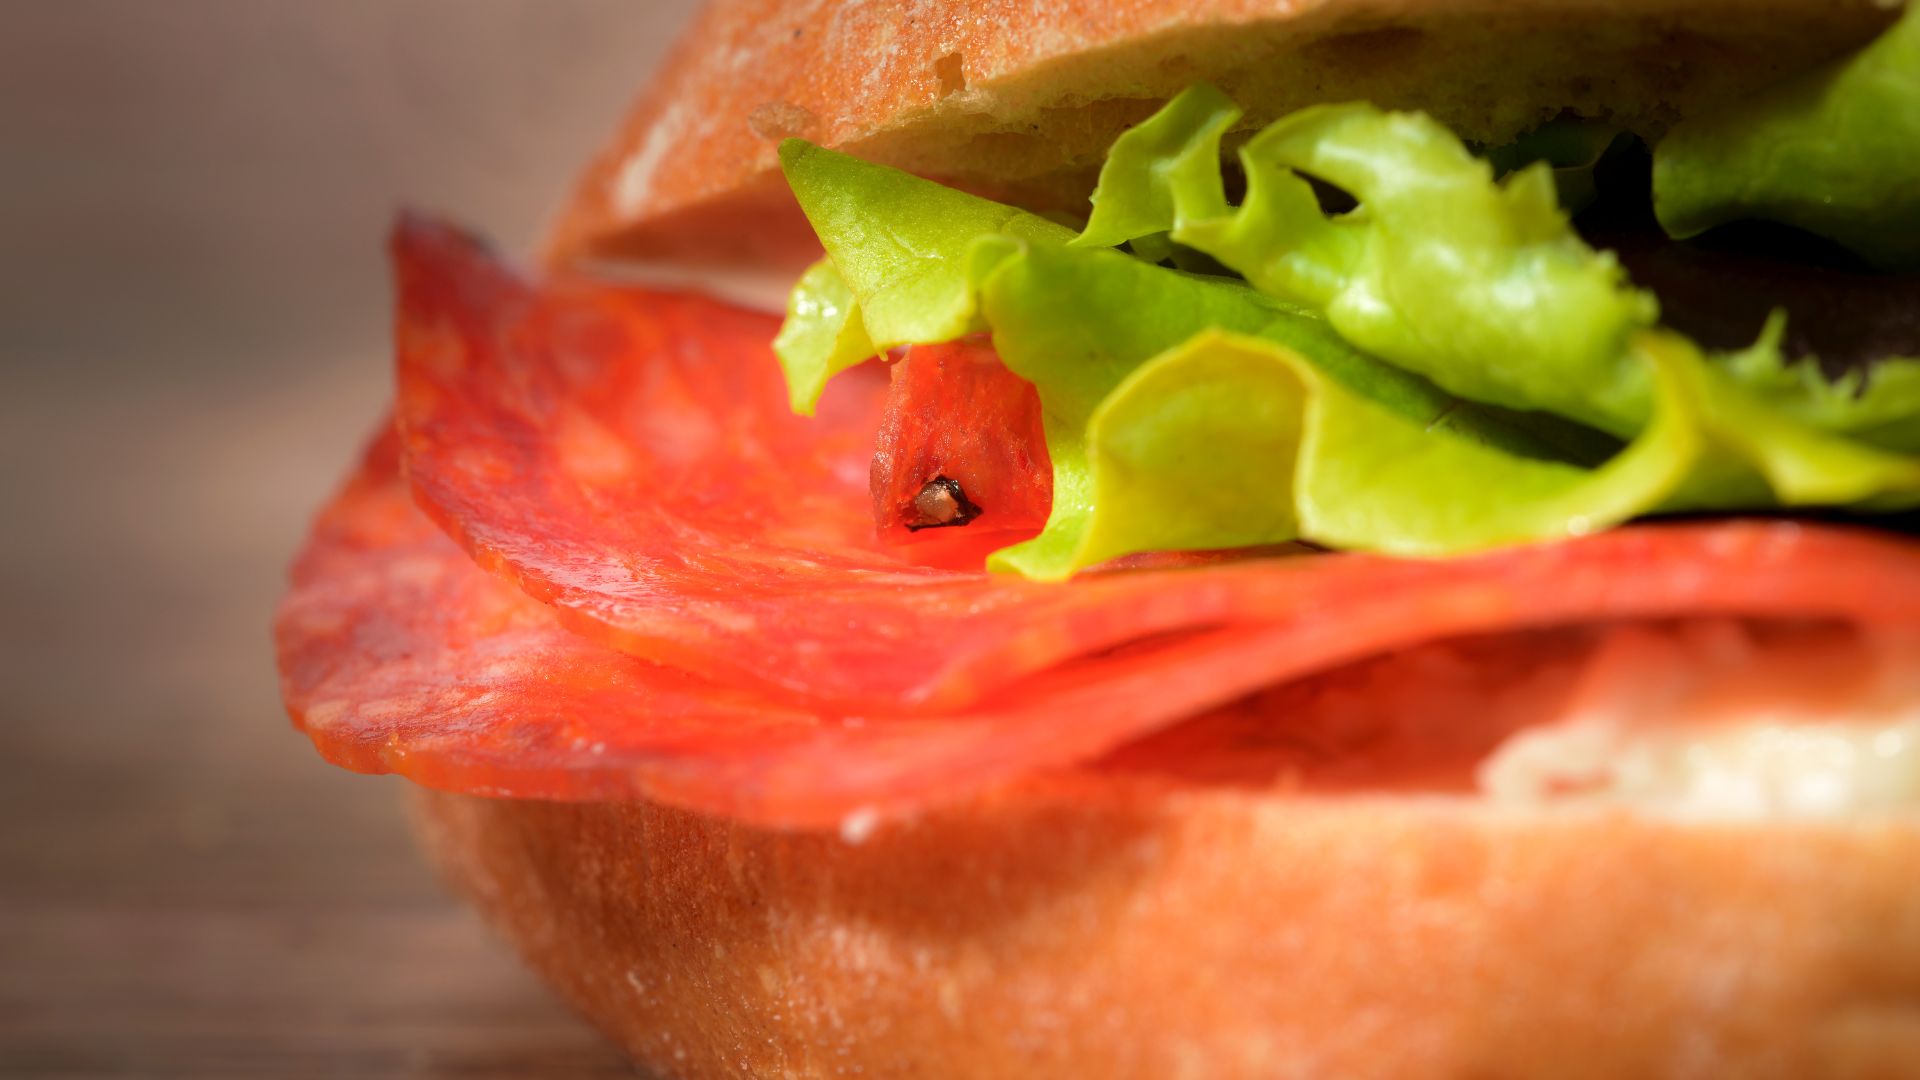
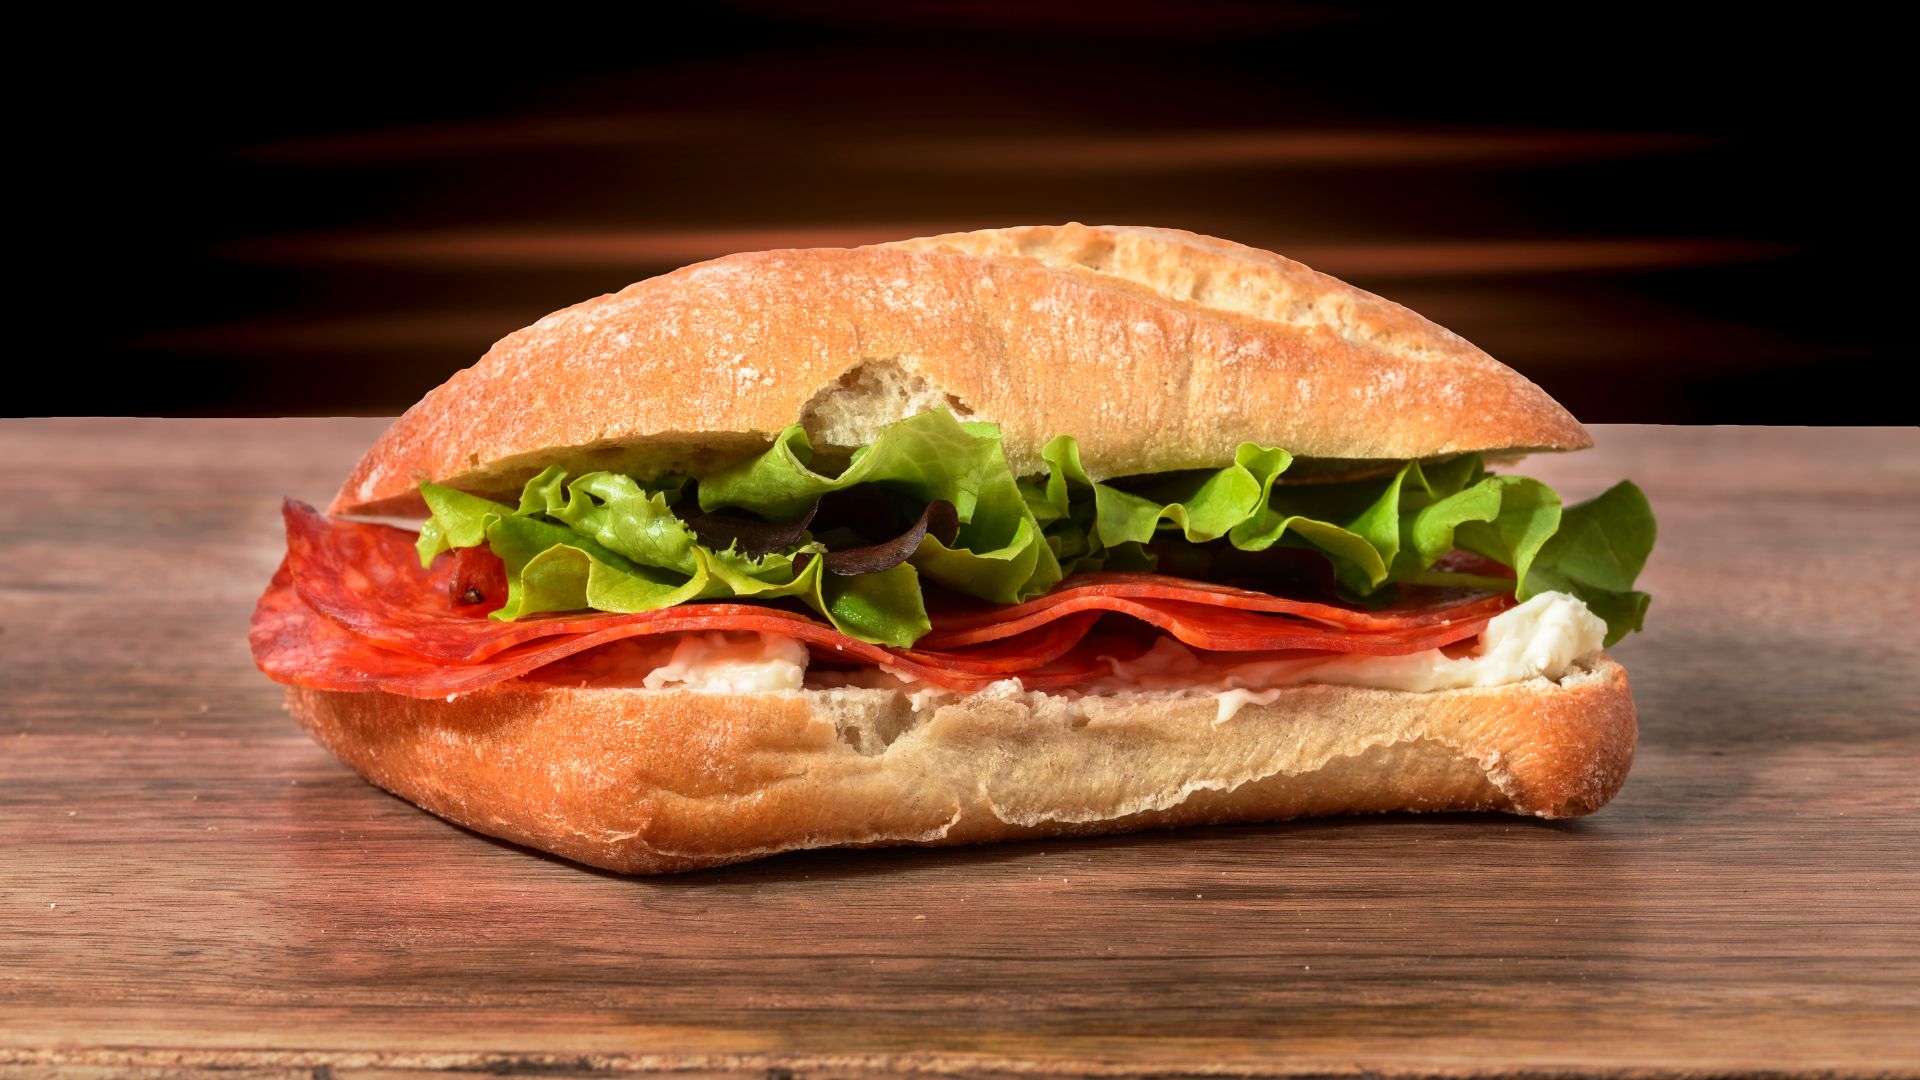
Ever tried shooting a sandwich with a 50mm lens and ended up with sharp focus on the lettuce and blurry bread? Stack it. Your client (or Instagram feed) will thank you.
💍 Product Photography
For Etsy sellers, crafters, and makers: focus stacking shows off the texture of your work without losing clarity in the background. Every bead, brushstroke, and bit of sparkle gets its moment.
🏞️ Landscapes (Bonus Tip)
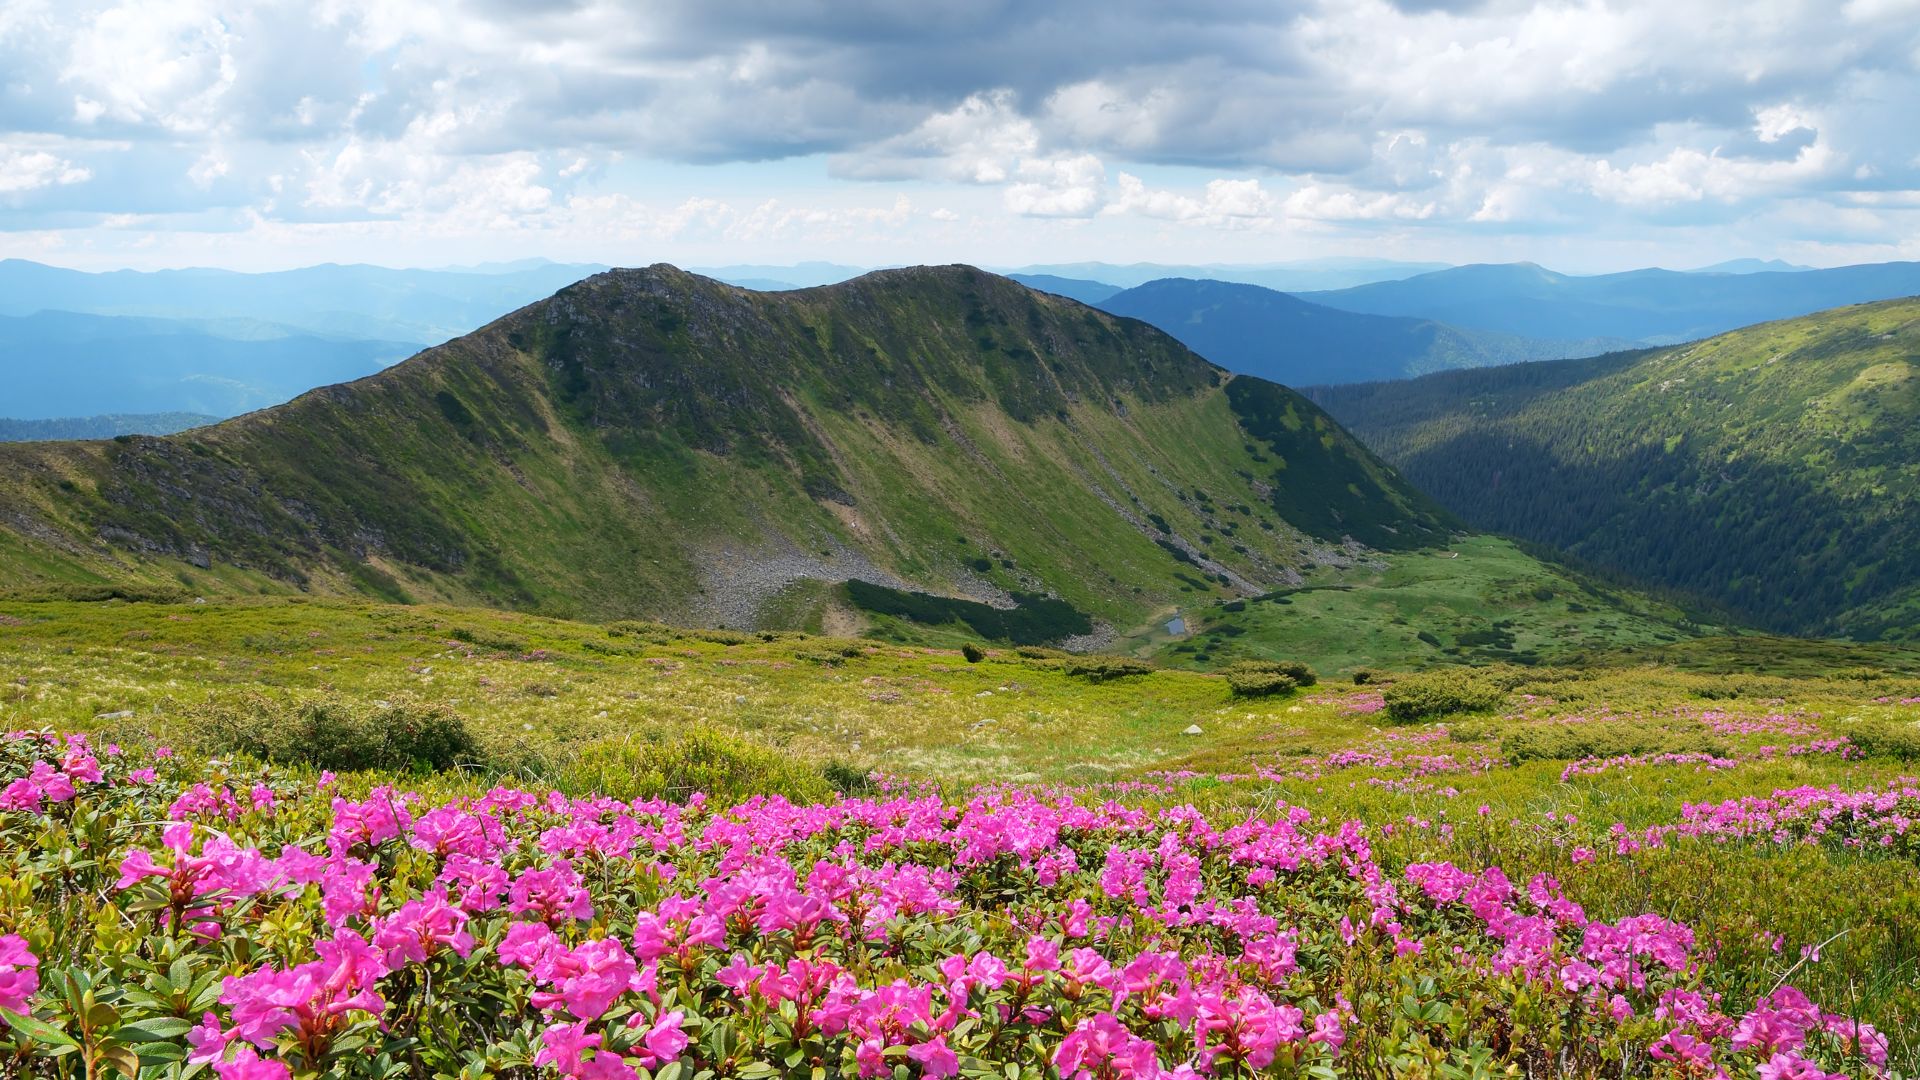
Okay, not food-related, but if you’ve ever tried to shoot a landscape and wanted both the flowers in the foreground and the hills in the distance to be sharp—yep, stacking works here too.
How to Do Focus Stacking (Step-by-Step Tutorial)
📸 What You’ll Need (focus stacking equipment)
- A camera with manual focus (DSLR or mirrorless)
- A macro lens
- A tripod (don’t even think about handheld—we need consistency)
- Remote shutter or self-timer (you can’t afford a nudge)
- Editing software: Photoshop, Helicon Focus, or Zerene Stacker
🔍 Shooting Process:

- Set your scene and lighting. Natural light works wonders—but if it’s a typical British afternoon, maybe grab a softbox. Or three.
- Lock your camera on a tripod. Wobbly shots will ruin the stack. And no one wants to redo it.
- Switch to manual focus. Autofocus will jump around like a squirrel on caffeine. Consider changing to spot focus to allow for more
- Set your white balance to auto to allow for post processing adjustments
- Take a series of shots, each time slightly adjusting the focus point from the front of the subject to the back. Aim for around 5–10 images, depending on the depth of your subject.Pro tip: Use live view, zoom in, and manually shift focus—like a focus ninja.
🧠 Editing the Stack in Photoshop:
- Open Photoshop →
File > Scripts > Load Files into Stack. - Select your images.
- Once loaded as layers, select all layers.
- Go to
Edit > Auto-Align Layers(to correct any slight misalignment). - Then go to
Edit > Auto-Blend Layers→ choose “Stack Images” → check “Seamless Tones and Colors.” - Let Photoshop work its magic.
- Flatten the image, clean up any artifacts, and voilà!
Bonus option: If you’re feeling fancy or doing this a lot, check out Helicon Focus or Zerene Stacker. They’re built just for this, and offer more control than Photoshop.
Focus Stacking Tips & Tricks (aka “Don’t Do What I Did”)
- Use a mid-range aperture (f/5.6–f/8) for optimal sharpness without diffraction.
- Avoid moving subjects. That includes flickering candles, pets, and yes, wilting basil.
- Keep lighting constant—clouds will roll in mid-stack if you live in the UK. (It’s basically law.)
- Take more shots than you think you need. You can always delete extras, but missing a slice of focus is heartbreaking.
FAQ about focus stacking?
What’s the difference between focus stacking and focus bracketing?
Great question—these terms often get used interchangeably, but they’re not quite the same thing.
Focus Bracketing is the shooting process. It’s when your camera takes a series of images at different focus distances—automatically or manually. Think of it as setting the stage for a stack.
Focus Stacking is the post-processing part. That’s where you blend those images together (using software) to create one perfectly sharp final photo.
In short:
📷 Focus bracketing = capture
🖥️ Focus stacking = editing and merging
So you bracket first, then stack.
What focus stacking software can you use?
There are a few popular options, depending on how deep you want to dive:
🖥️ Beginner-Friendly / Photoshop Users:
Adobe Photoshop
Has built-in tools for auto-aligning and auto-blending layers.
Perfect if you’re already in the Adobe ecosystem.
🧠 Dedicated Focus Stacking Software (More Control):
Helicon Focus
Fast, user-friendly, great for product, macro, and scientific photography.
Offers advanced stacking algorithms.
Zerene Stacker
Known for excellent handling of fine detail and texture.
Great for high-end macro work—less intuitive UI but fantastic results.
💻 Free/Open Source:
CombineZP (Windows only, older UI but still works)
Picolay (Free and lightweight, but more basic)
Can you focus stack in Lightroom?
Not exactly.
📸 Lightroom is great for organizing and basic editing, but it doesn’t have focus stacking tools built-in. However, you can prep your images there:
Import, sort, and make base adjustments.
Then send your bracketed images to Photoshop by selecting:Right-click > Edit In > Open as Layers in Photoshop.
From there, you’ll do the actual stacking in Photoshop.
So:
🧹 Lightroom = great prep tool
🧩 Photoshop = does the actual stacking
Which cameras allow focus stacking or auto focus bracketing?
More and more modern cameras offer focus bracketing, and some even do in-camera focus stacking.
📸 Cameras with Focus Bracketing (and sometimes in-camera stacking):
✅ Olympus / OM System (Micro Four Thirds)
OM-D E-M1 series, O-M5, OM-1, etc.
These are focus stacking beasts. Many models can stack in-camera and bracket for later editing.
✅ Canon
EOS R7, R5, R6, and RP (with firmware updates)
90D and even the Powershot G7 X Mark III
Focus bracketing available (stacking done in post)
✅ Nikon
Z6, Z7, Z8, Z9, D850
Offer Focus Shift Shooting (i.e., bracketing)
✅ Fujifilm
X-T5, X-T4, X-H1, GFX 100/50R/50S
Focus bracketing available, but stacking needs to be done in post
✅ Panasonic
All G models
Offer Post Focus and Focus Stacking in-camera (super handy!)
✅ Sony
Bit late to the party! But newer models like the Sony A7R V and A6700 now include focus bracketing.
Let me know if you want a downloadable cheat sheet of this info—I can whip one up in your brand style!
Focus stacking might sound technical, but once you’ve done it a couple of times, it’s pretty straightforward—and the results speak for themselves. Whether you’re shooting baked goods, handmade jewellery, or intricate crafts, this technique brings your vision into sharp, glorious focus.
So next time you’re cursing your blurry product shots while the rain lashes against your window (ah, Britain), remember: you can have it all—focus-wise, anyway.


