
How to take product photos with your smartphone
If you’re looking to sell products online, you need to have great product photos! Not only do they help potential customers get a better idea of what your product looks like, but good product photography can also make your products look more appealing and increase sales. In this blog post, we’ll give you some tips on how to take great product photos with your iPhone (or any other camera, for that matter). Follow these simple tips and you’ll be able to create beautiful images that will help sell your products!
- Smart phone product photography tips
- Step 1: Pick the best photography lighting
- Step Two: Find a clean background
- Step Three: Use a tripod or selfie stick to keep the camera steady
- Step Four: Experiment with Angles and Composition
- Step Five: Edit Your Photos Using an App Like Lightroom or Luminar
- Step Six: Share Your Photos With the World on Social Media or Your Own Website!
- 360 iPhone Product Photography: Is It Real?
Before we get started, it’s worth noting that how to take product photos with iphone or how to take product photos with android is the same. Although this article focuses on how to take product photos with iPhone, you can use these tips for any camera smartphone as well.
Smart phone product photography tips
- Smartphone cameras have come a long way since their inception, and today they offer a great deal of versatility. You can buy an iPhone or Android phone with multiple cameras that have different focal lengths (wide-angle, telephoto) so you can get close up shots without having to move closer yourself – this is particularly helpful if your product isn’t small. You can also use different apps to edit your photos, so you have a lot of control over how they turn out.
- When choosing a lens for your smartphone, it’s important to pick one that will best suit your needs. If you’re looking for a lens that will help you take close-up shots of your product, you’ll want to invest in a telephoto lens. If you’re looking for a wide-angle lens that will give you a broader view of your product, there are many great options available. Moment offers a wide variety of lenses that are specifically designed for smartphones, and they’re one of our favourite brands.
Moment lenses worth looking at:
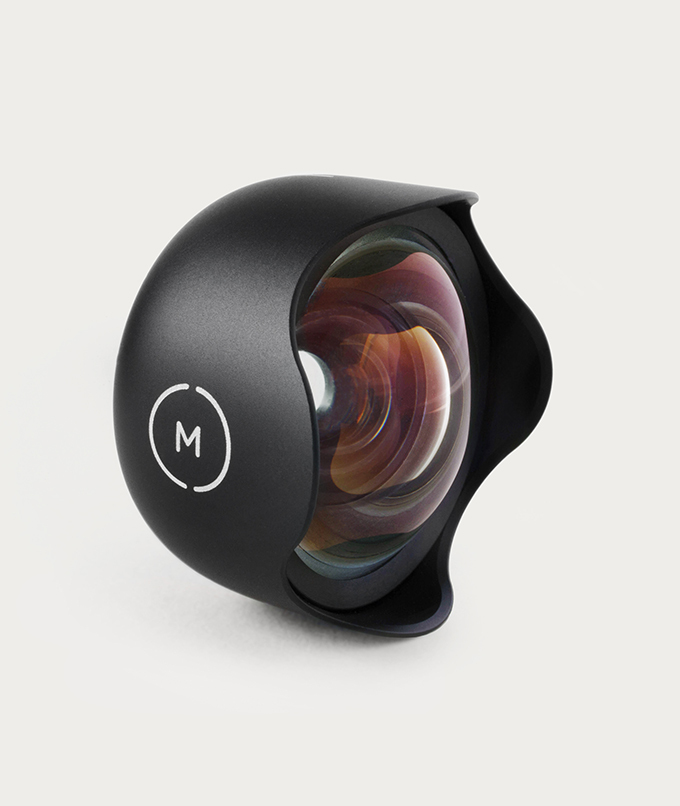

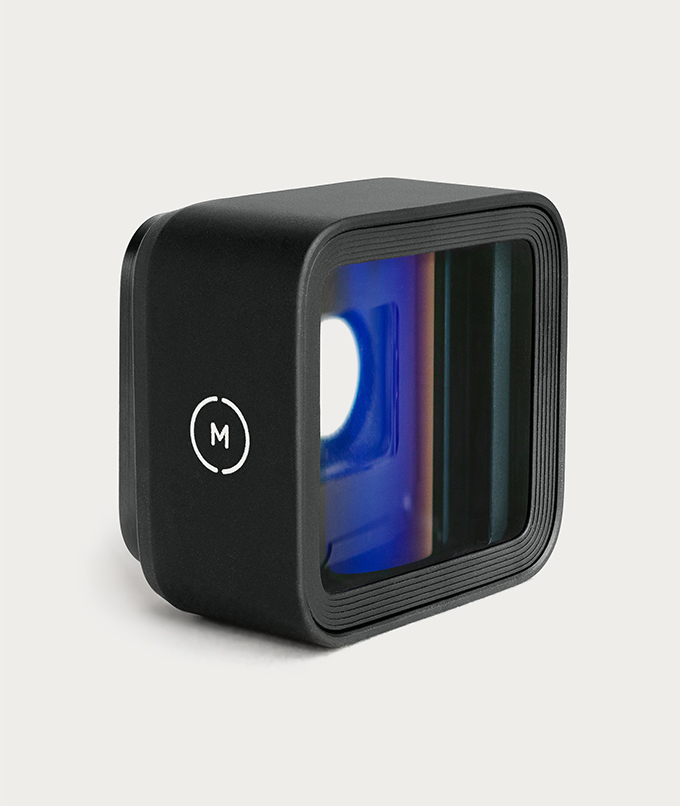
- One of the most important things you can do to improve your product photos is to keep your phone lens clean. Dust, dirt, and fingerprints can all affect the quality of your photos, so it’s important to clean your lens regularly.
- If you’re using an iPhone, you can turn off the flash by going to Settings > Photos & Camera > and turning off the Flash option. This will help reduce the amount of noise in your photos, and will help you take better photos in low-light situations.
- When you’re taking product photos with your smartphone, it’s important to be careful with zoom. Although zoom can be helpful for getting close-up shots of your product, it can also reduce the quality of your image. If you need to zoom in on your product, try to do it with your feet and don’t use the zoom function on your camera if you can help it.
- When you’re taking product photos with your smartphone, it’s important to be careful with zoom. Although zoom can be helpful for getting close-up shots of your product, it can also reduce the quality of your image. If you need to zoom in on your product, try to do it with your feet and don’t use the zoom function on your camera if you can help it.
- When taking product photos, it’s important to find a clean, clutter-free space with good lighting. This may seem like a daunting task, but it doesn’t have to be! Here are a few ideas for creating simple white backdrop for your product photos:
– A white or light-coloured wall can act as a blank canvas and create a simple backdrop for your photos.
– A roll of white paper or fabric can also be used as a backdrop – this is a great option if you’re looking for something temporary or if you want to change the look of your photos often.
– If you have access to a garden or outdoor space, try shooting your product photos outdoors in natural lighting. This can create beautiful and natural-looking images.
- There are a number of great apps that can help you take better product photos with your smartphone. Here are a few of our favourites:
- Adobe Lightroom Mobile is a popular photo editing app that offers a lot of control over how your photos look.
- Luminar is another popular photo editing app that offers a wide variety of filters and tools to help you improve your photos.
- Canva is a free online photo editing tool that can be used on your computer, smartphone or tablet. While the photo editor isn’t the best, they have a few features like remove background and mockups that are worth looking at.
- Camera+ is an iPhone-only app that offers a number of features for improving your photos, including manual controls and presets.
How to take good product photos with iphone / any recent smartphone
Step 1: Pick the best photography lighting

First of all, you have to check that your lighting is good enough. It’s crucial to use the right light whenever possible. If you don’t know how to setup your product lightings, check out this video.
Remember that your lighting should showcase your product in the best way possible. If you’re using natural light, try to shoot during the day when the sun is shining. If that’s not possible, invest in some artificial lighting to help brighten up your photos.
Don’t forget you’ll want a reflector / bounce cards to fill in any shadows or a diffuser to reduce the harsh light.
How to take product photos with your smartphone – how to use artificial light
Sometimes, natural light isn’t available and you need some help from artificial lighting. If this is the case for you, here are a few ways how to take product photos using artificial light:
– Use lamps or overhead lights in your space to create soft, natural-looking light.
– If you have a white poster or sheet of paper, use it as a backdrop to reflect light onto your product.
– Use an external flash to help brighten up your photos.
– Invest in some artificial lighting products like studio lights or ring lights – these can be really helpful for taking product photos in low-light situations.
Step Two: Find a clean background

When taking product photos, it’s important to find a clean, clutter-free space to work in. Find an empty wall or table that is free of any distracting objects. This will help make your products stand out and draw attention to them. Every item within the shot should add to the story or composition.
Ideally you should also have a white background so the product will stand out against it. The best way to do this is by hanging up a white piece of cloth or using a whiteboard.
Step Three: Use a tripod or selfie stick to keep the camera steady
This is how you can avoid blurry photos, which won’t look good on your website or social media accounts! A tripod will help you get better shots by keeping your camera still while also giving it more range of motion so that you can take photos from different angles without having to move around too much. However, you’ll also need to choose your focus area/ point. Choosing how much and where you want in focus can help guide the viewer to what’s most important in the picture.
Step Four: Experiment with Angles and Composition

Now that you have a good idea of how to take photos, it’s time to experiment! Try out different angles and compositions until you find one that works well for each product or group of products .
There are several different types of compositions you could try: a top-down shot, side profile (also known as the “hero” angle), or even from behind. You can also move around some items in order to create interesting shapes that will draw attention.
Remember to watch out for those awkward reflections in shiny objects that might ruin your photo! But if they can’t be avoided, try playing around with how much light is hitting the surface by moving it around or adding more lamps.
Step Five: Edit Your Photos Using an App Like Lightroom or Luminar
Of course, how your product looks in real life is important but how it’s presented on camera matters as well! You might also want to consider using an editing app like Adobe Lightroom or Luminar to enhance the colours and contrast of your photos. This can really make your products pop and help fix any lighting or compositional issues you had.
If you don’t already have a editing process worked out, you might wanna check out 7 Steps to Editing.
Step Six: Share Your Photos With the World on Social Media or Your Own Website!
Now that you have some beautiful product photos, it’s time to share them with the world! Make sure you optimise your photos for where you want them published, whether it be social media or your own website. And don’t forget to use a catchy caption or tagline that will help grab people’s attention.
FAQ Phone Product Photography
360 iPhone Product Photography: Is It Real?
We’re living in a 360° world. Virtually everything can be seen in all directions, and photos are no exception. In this blog post, we’ll take a look at how to shoot product photos using an iPhone that give the illusion of being 360°.

There are two main ways to capture a 360° photo with an iPhone: using a special lens or an app.
Using a Special Lens
If you have a 360° lens, it’s easy to take photos that give the illusion of being in all directions. All you need to do is attach the lens to your phone and shoot away! There are several different types of 360° lenses on the market, but one of the most popular is called “The Insta360 ONE.”
Using an App
You can also use a 360° app to shoot your photos. The best ones are free, and they allow you to take pictures without using any special equipment or lenses. Some examples include Panorama Plus HD (for iOS devices), Photaf (for Android devices), and 360° (for Windows devices).
Once you have your photo, it’s easy to share it on social media or your website. All you need to do is upload it like you would any other photo, and then add the appropriate tags or captions.
Products look great in all directions, so don’t be afraid to experiment with 360° product photography! It can be a lot of fun, and it’s a great way to show off your products in a new and unique way.
We hope you found these tips helpful! If you have any other questions, feel free to leave them in the comments below. If you want some amazing product photos ideas, with product shot lists, check out x Thanks for reading!


