
How to Photograph Jewelry: Tips and Tricks for Professional Results
Jewelry is one of the most popular items to photograph for online sale. It can be tricky, but with the right information and some practice you can learn how to take beautiful jewelry photos that will help sell your products. In this post, we’ll discuss different types of jewelry photography, what you need to get started, and how to photograph jewelry for Etsy at home. We’ll also cover some pro tips and common mistakes to avoid!
Types of Jewelry Photography
There are two main types of jewelry photography: product and editorial. Product photography is all about showcasing the jewelry in the best possible light, making it look as attractive as possible to potential buyers. Editorial photography, on the other hand, is more about telling a story or conveying a message with the jewelry. It can be used for advertising or marketing campaigns, or even just to create interesting images for social media.


What you need to take good photos of jewellery at home?
Before you get started taking photos you need to gather a few supplies. Here’s what you’ll need:

– A good quality camera (yes, your smartphone is fine)
– A macro lens (optional, but recommended)
– Lighting – you can use natural light or artificial light, depending on your setup
– Reflectors (optional)
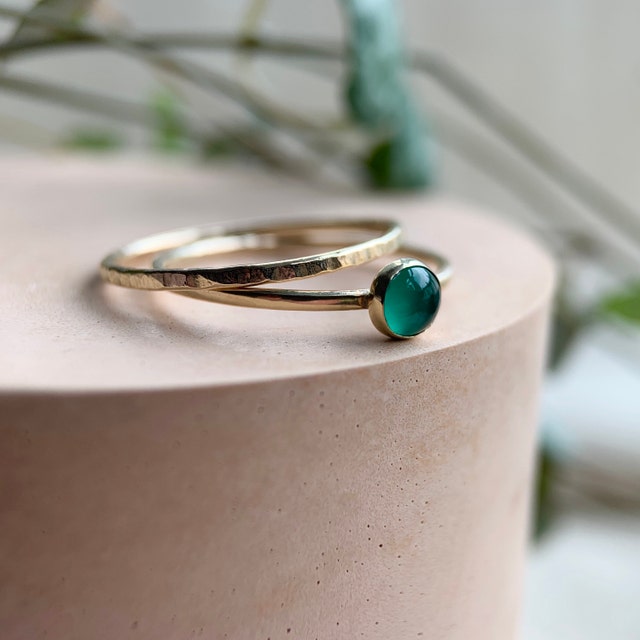
– A selectional of surfaces or backgrounds
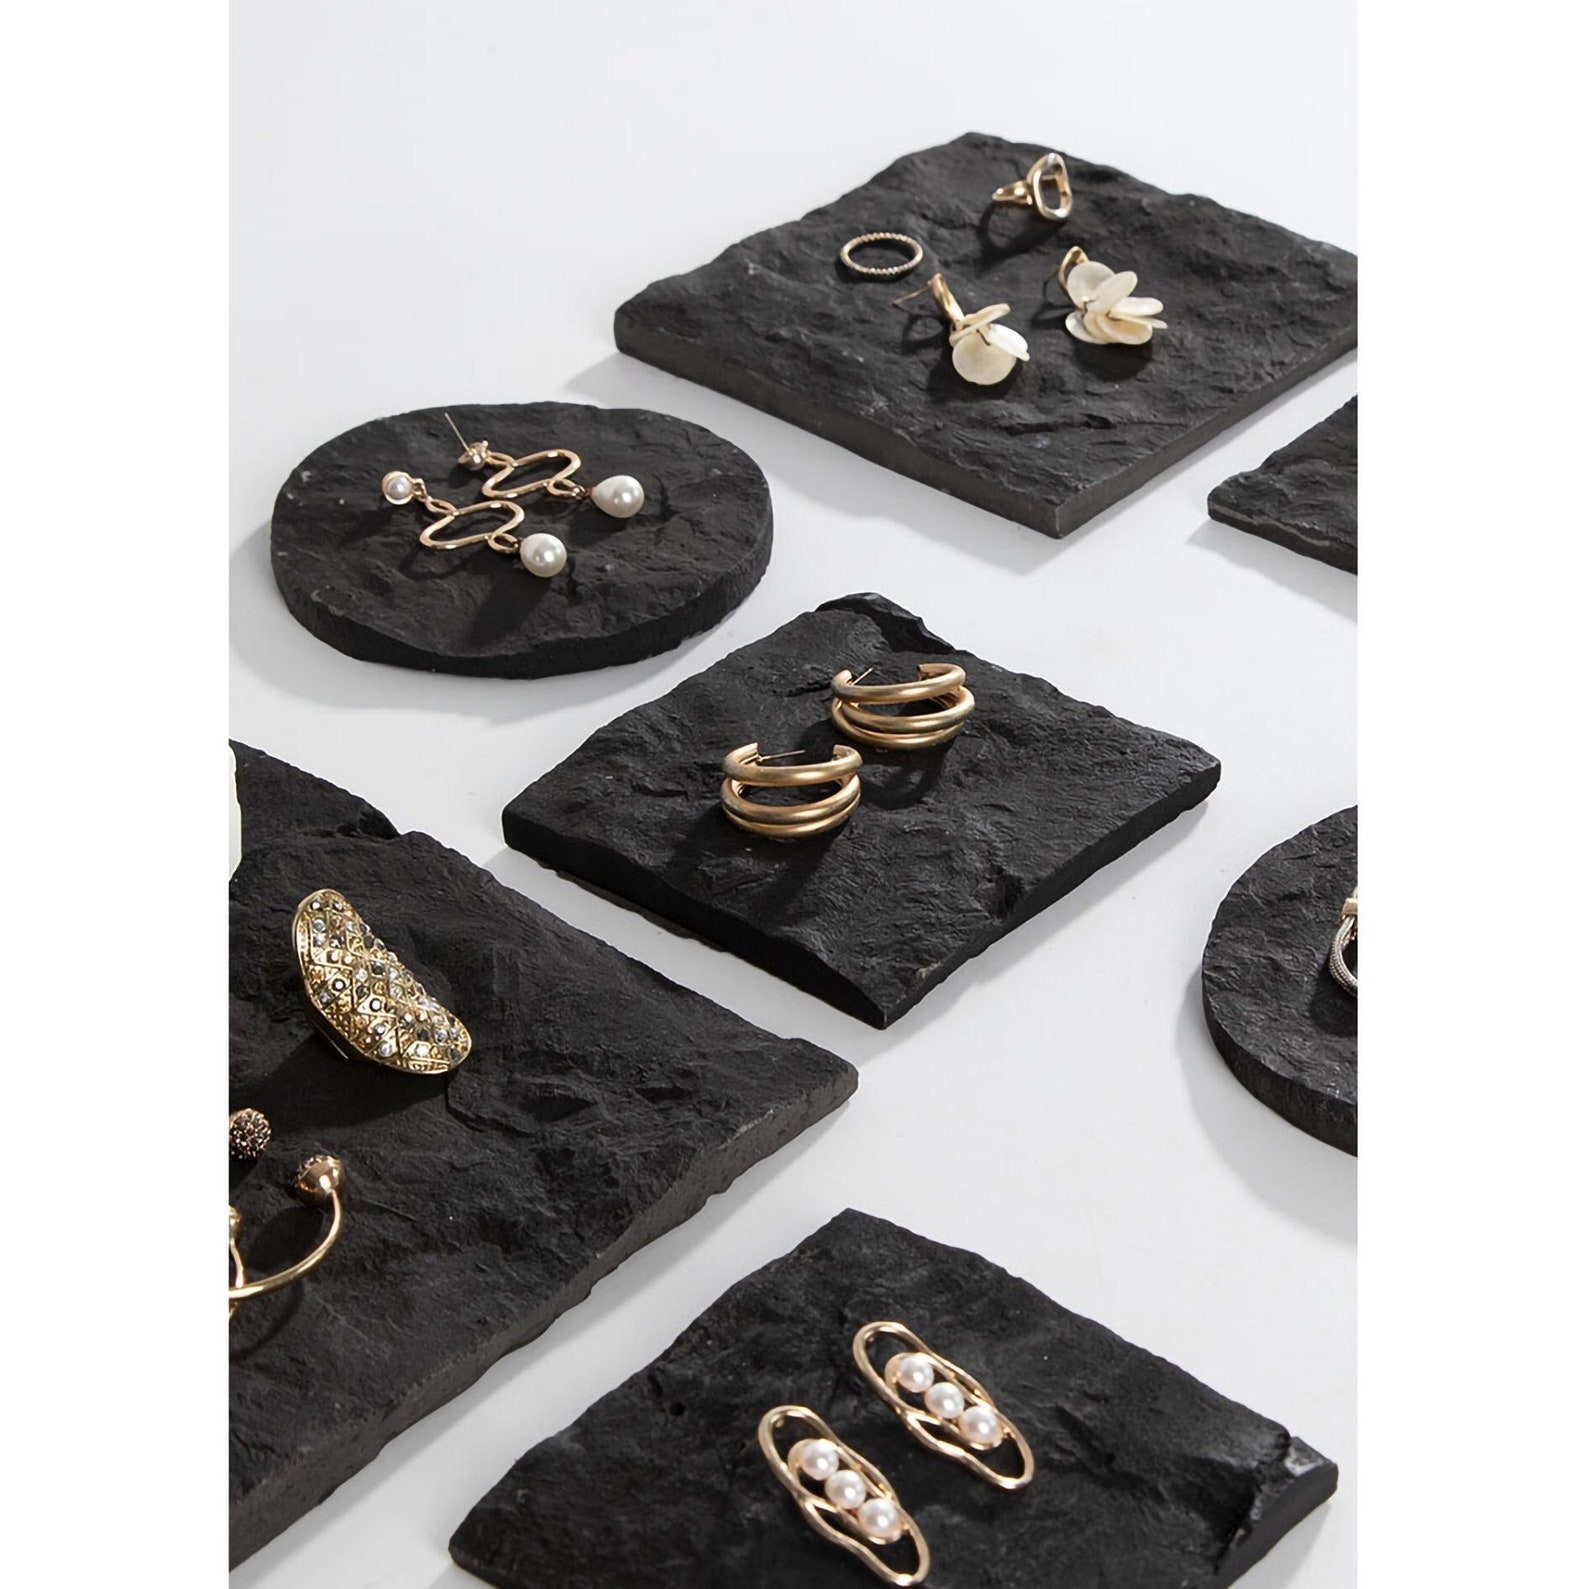
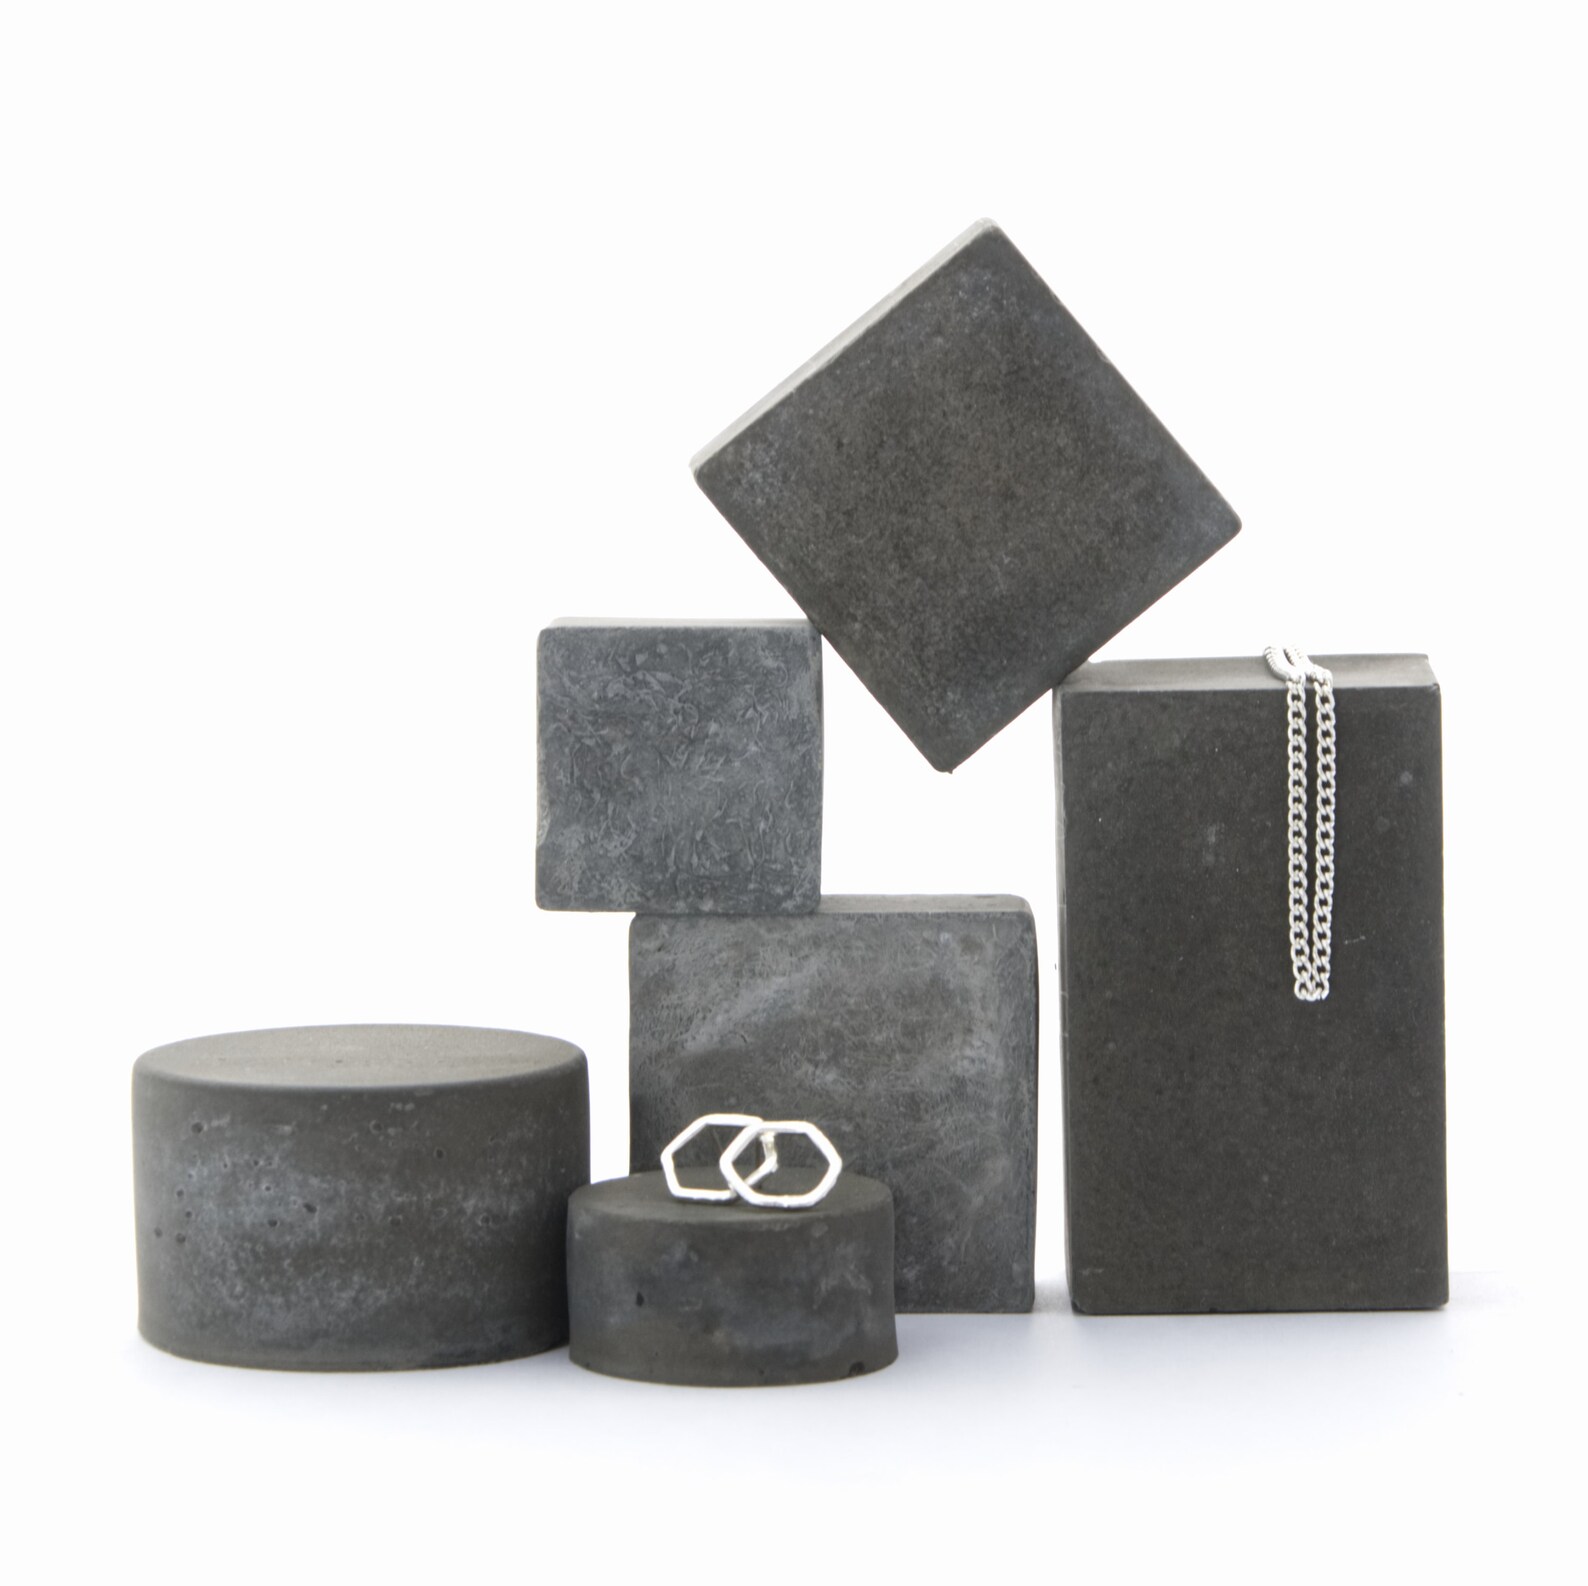
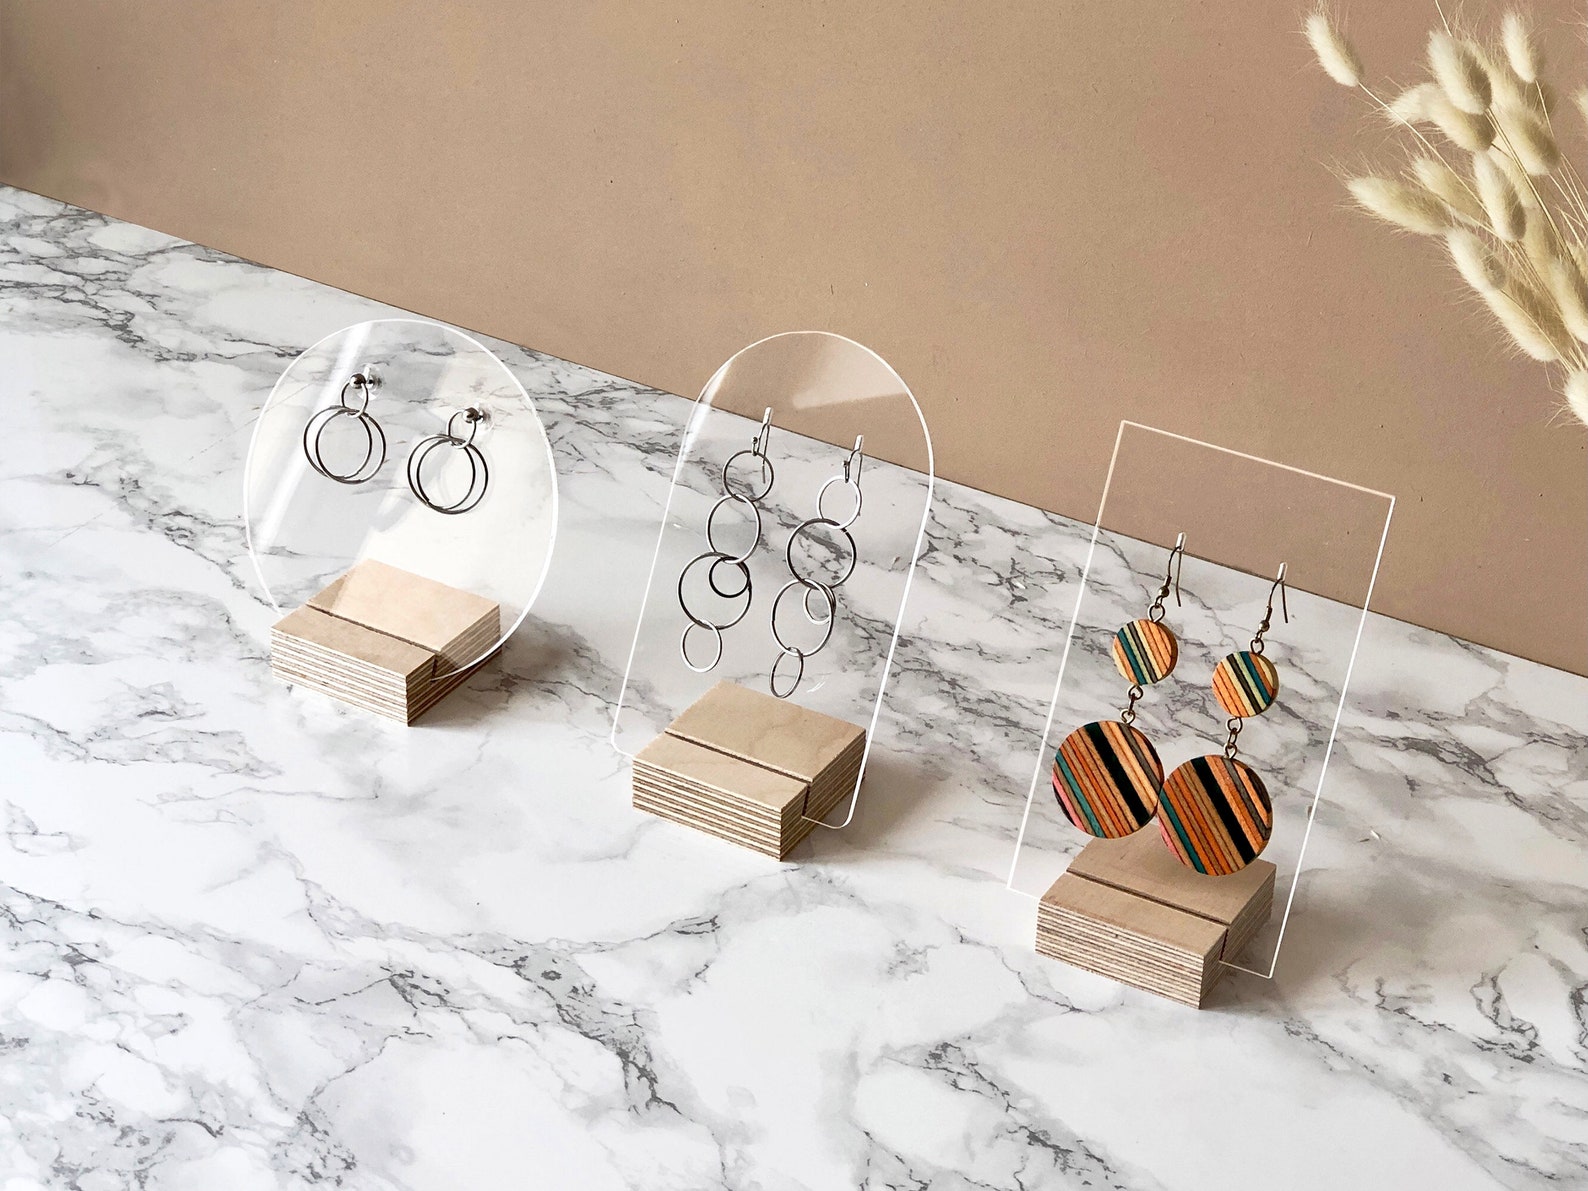
– Jewelry photography props like these>
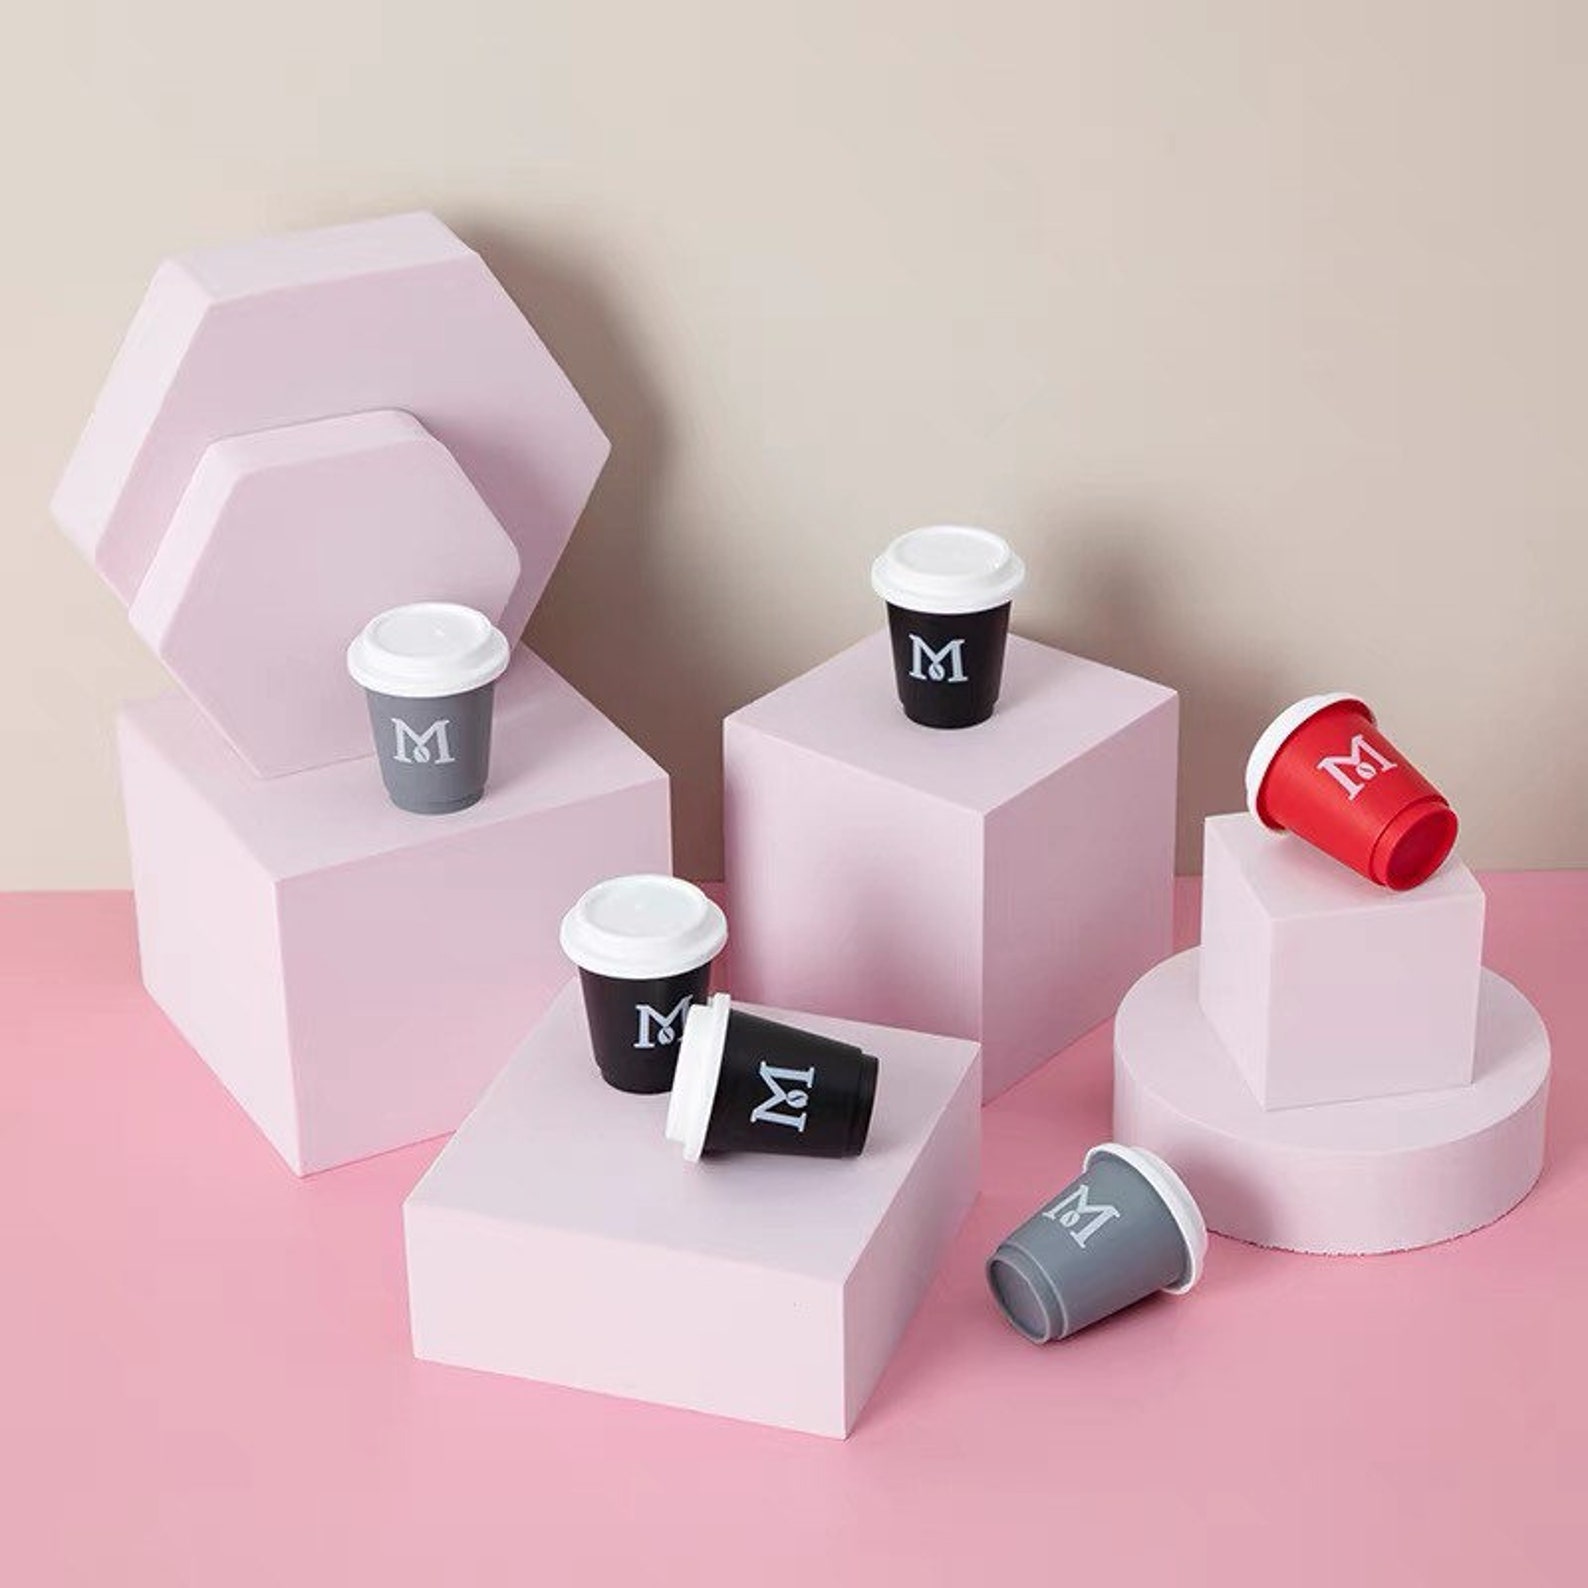
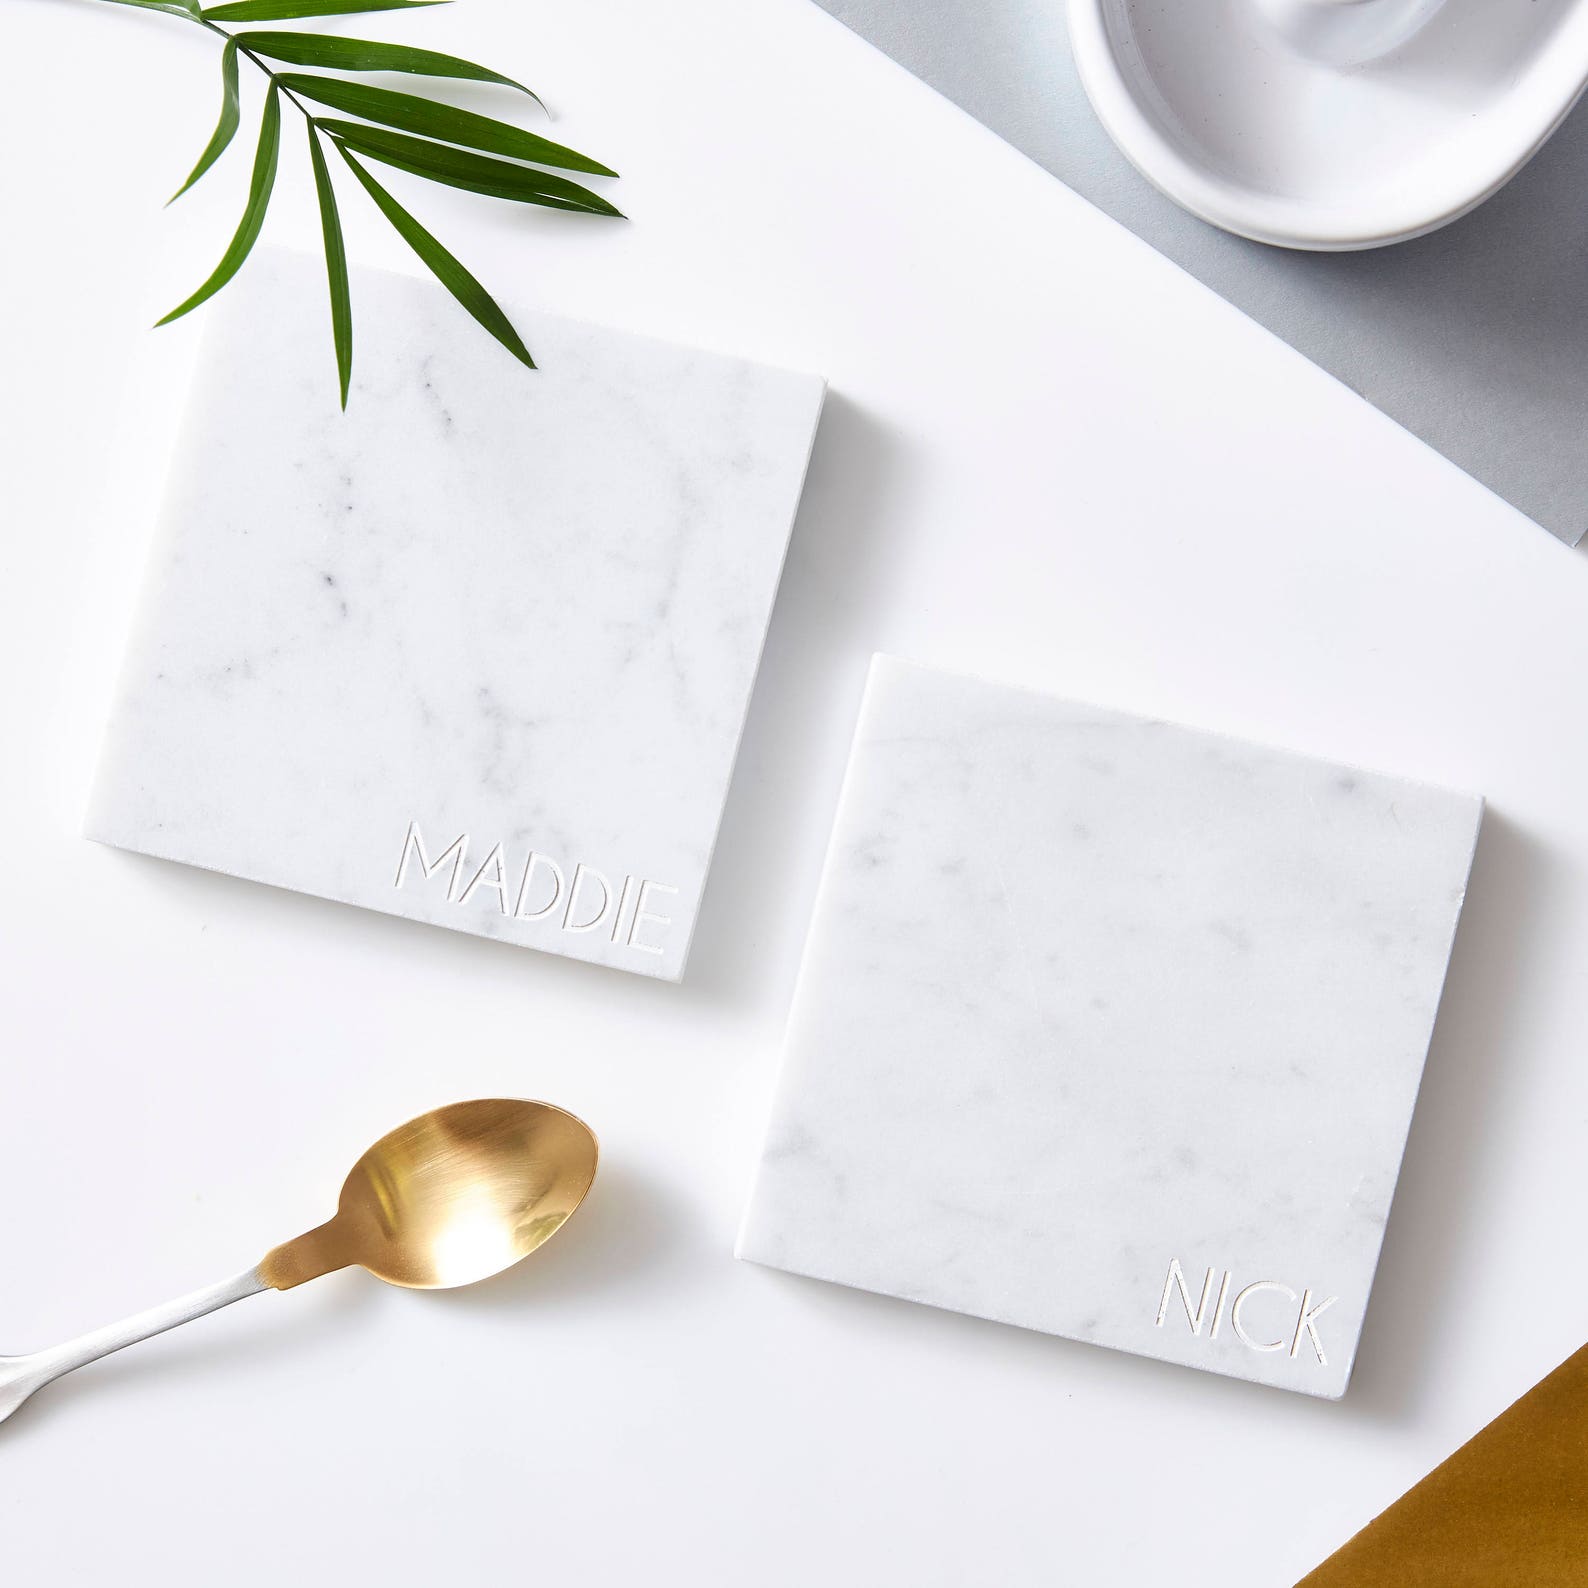
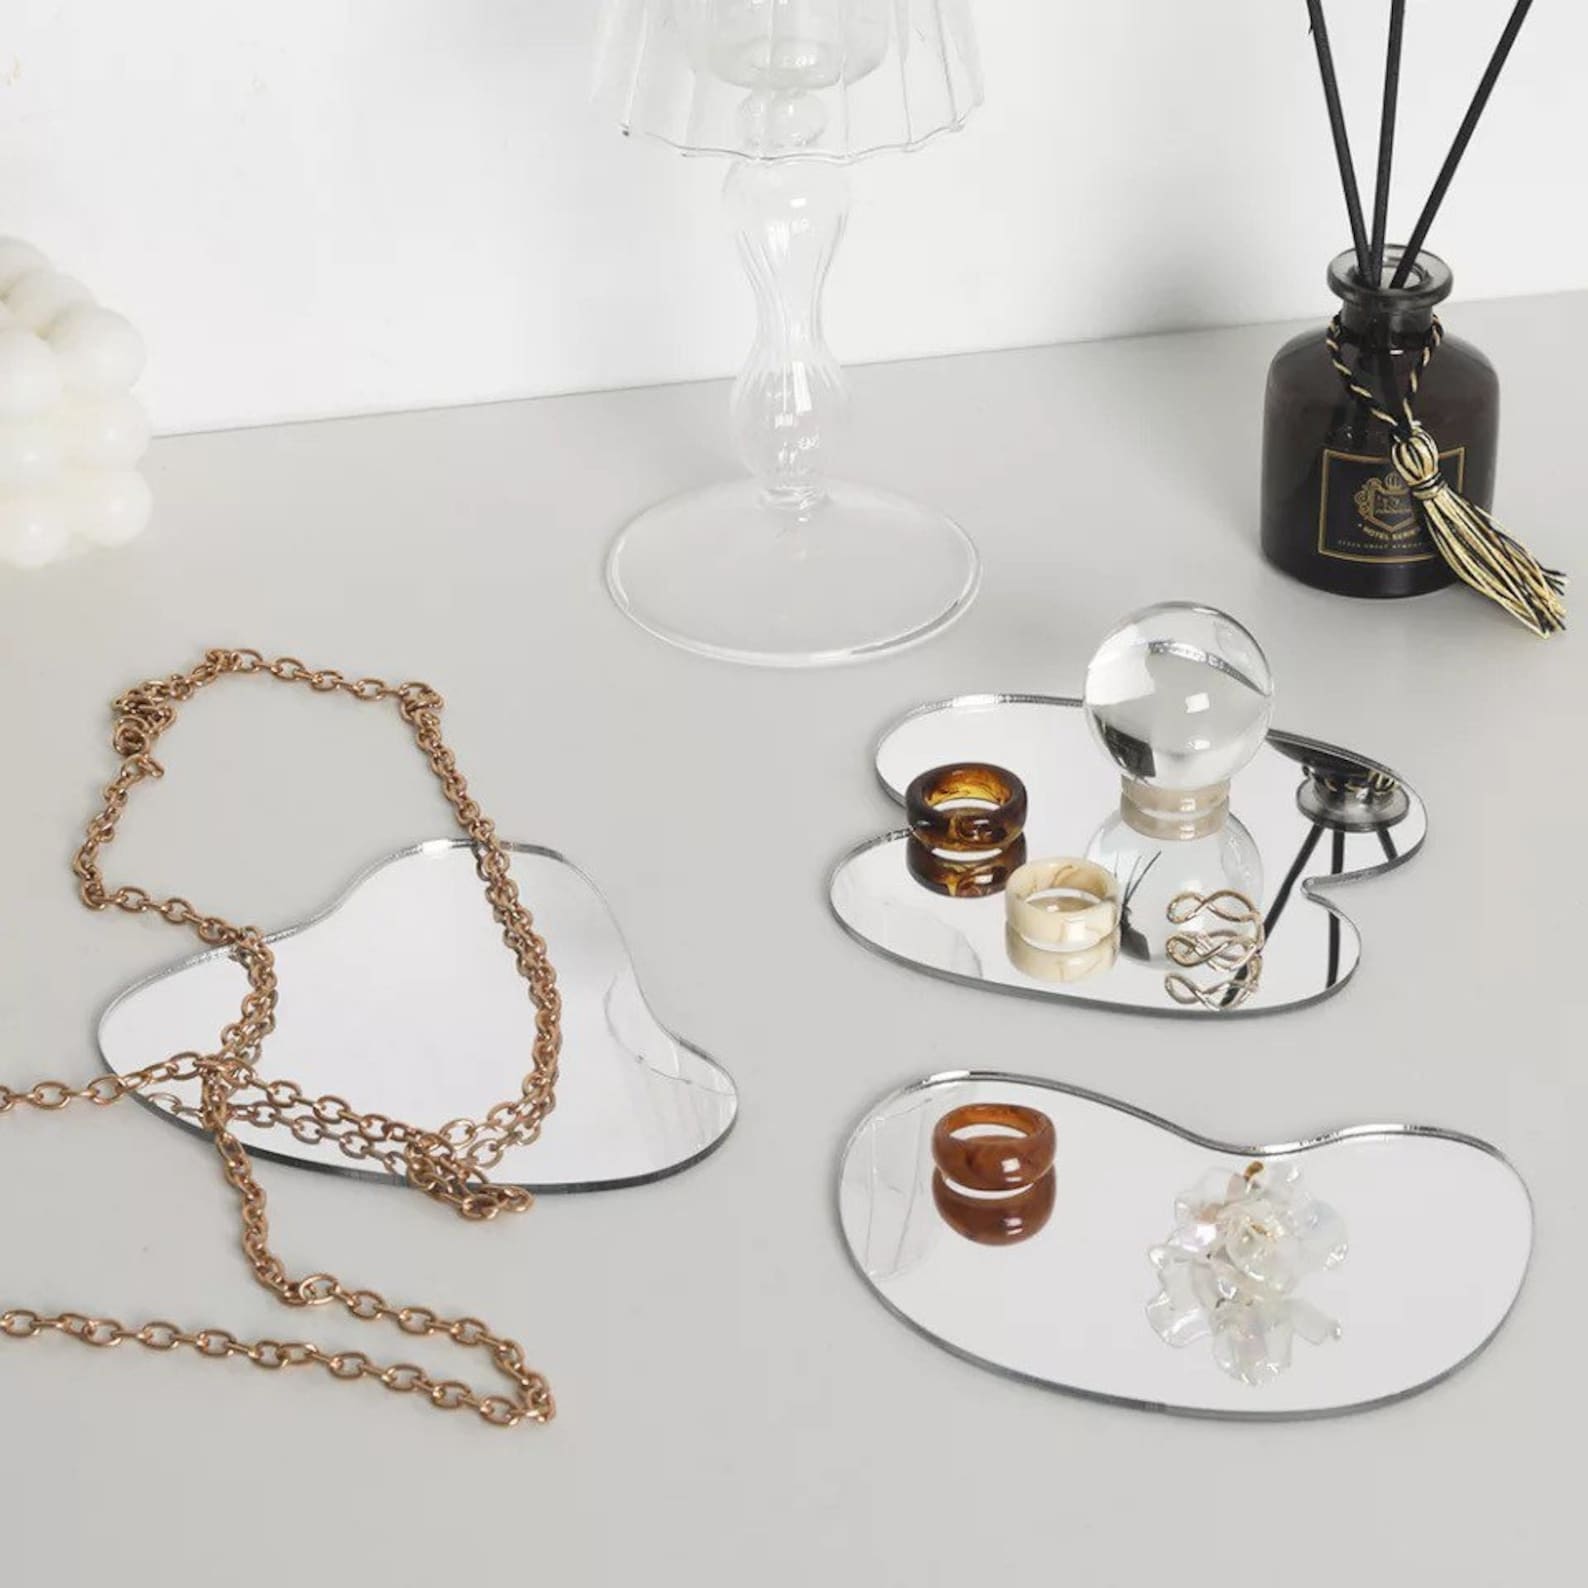
Acrylic Mirror Coaster
Jewelry Photography tutorial: How to Photograph Jewelry at Home


Great product photos are key to a successful business. They help people fall in love with your work and want to buy what you’re selling. Let us help you take your business to the next level with amazing product photos that will make people stop in their tracks.
You’ll learn how to use light and composition to your advantage, so your products always look their best. We’ll show you how to create winning compositions that will leave your viewers desperate to click buy.
Step 1: Product preparation for Jewelry Photography
You need to make sure your jewelry is looking its best before you start taking photos. You can use a polishing cloth to clean up the metal, or vinegar and baking soda to remove tarnish from silver pieces.

Now it’s time for styling! How do you want the jewelry to look in your photo? How does it need to be arranged so that it’s easy to see and understand? How can you show off the most interesting aspects of each piece? How will this look in relation to other jewelry items or props that might be included in your photo?
Step 2: How to Light Jewelry for Photography
Lighting is one of the most important aspects of successful jewelry photography. You want to make sure that your jewelry is well lit and evenly illuminated, so you don’t get any weird reflections or shadows from overhead lights. You can use natural light from windows or artificial lighting on stands with softboxes for this purpose.

You’ll want to figure out where exactly the best place in your house might be for taking photos of jewellery at home – especially if you are using artificial lighting.
You might want to take some test shots at this point, to see how your jewelry looks in different settings and under various lights before committing yourself to one setup or another.

Once everything is set up properly (and carefully!) it’s time for the fun part: taking pictures!
Step 3: Choose the right camera settings for Jewelry Photography
The biggest question I get about Jewelry photography is: Which Settings Should You Use for Jewelry Photographs?
Choose the right aperture to control depth of field
For photographing jewelry, you’ll want to use an aperture around f/11 or f/16. This will give you a good depth of field and keep everything in focus. If you want to blur the background slightly, you can use a wider aperture like f/22.
Try focus stacking
If your jewelry has a lot of detail or you’re having trouble getting everything in focus with a single shot, you can try focus stacking. This is where you take multiple photos of the same scene but adjust the focus for each one. Then, using photo editing software, you can merge all the images into one perfectly focused photo.
When photographing jewelry, it’s important to get the white balance right. This will ensure that your colors are accurate and consistent from photo to photo. You can either set the white balance manually or use a grey card.
Step 4: It’s time for some jewelry photography editing

Now that you’ve taken all your photos, it’s time to edit them. This is where you can really bring out the best in your jewelry and make sure everything looks perfect.
There are a few different things you can do in jewelry photo editing, but some of the most important are:
– Adjust the white balance if needed
– Remove any blemishes or distracting elements
– Enhance the colors and brightness, while maintaining truetone
– Sharpen the details
If you wanna see how I do this, check out 7 Steps to Editing.
FAQ’s Jewellery Photography
Jewellery or Jewelry?
In the UK and Ireland, jewellery is spelled with an “e” at the end. In the US and Canada, jewelry is spelled with an “o” instead of an “e”. How to photograph jewellery at home?
What is the best lighting for jewelry photography?
I personally believe you need either flat or dynamic lighting for jewellery.
What Lens is Best for Jewelry Photography? While most professionals will use a 100mm macro lens to ensure the very best results, you can also get some great jewellery photos with a 50mm lens.
How do you sparkle jewelry in pictures?
There are a few ways to do this. You can use a reflector to bounce light off the jewelry and onto the surrounding surfaces, you can add some sparkle paint or glitter to the piece, or you can use a light with a strong beam angle (like a spotlight) to create highlights on the jewellery or you can use a star filter.
What is the best jewelry background?
How to get a white background?

Now that you know the basics of jewelry photography, it’s time to put your new skills into practice! Start by planning out your shots and thinking about how you want the final image to look. Experiment with different camera settings and lighting setups until you find what works best for you. And most importantly, be patient and take lots of photos – you can always delete the ones you don’t like later. Thanks for reading!


